在采用Spring Boot框架的Web应用内使用Shiro与Mybatis完成用户的登录的验证
前面的笔记已经说到了如何创建一个Spring Boot项目并在Spring Boot框架内使用Mybatis,接下来就要在现有的基础上结合Shiro框架来实现一个简单的用户登录功能了
首先需要创建需要的数据表,这里我们一共需要创建5张表,分别是:
- user(用户表)
- role(角色表)
- permission(权限表)
- user_role(用户-角色映射表)
- role_permission(角色-权限映射表)
采用的是用户与角色关联,然后再给不同角色分配权限的模式,具体表格式如下所示
1
2
3
4
5
6
7
8
9
10
11
12
13
14
15
16
17
18
19
20
21
22
23
24
25
26
27
28
29
30
31
32
create table user(
id int(11) not null auto_increment,
name varchar(30) not null unique,
password varchar(50) not null,
primary key(id)
);
create table role(
id int(11) not null auto_increment,
name varchar(30) not null unique,
primary key(id)
);
create table permission(
id int(11) not null auto_increment,
name varchar(30) not null unique,
primary key(id)
);
create table user_role(
user_id int(11),
role_id int(11),
foreign key(user_id) references user(id) on delete cascade,
foreign key(role_id) references role(id) on delete cascade
);
create table role_permission(
role_id int(11),
permission_id int(11),
foreign key(role_id) references role(id) on delete cascade,
foreign key(permission_id) references permission(id) on delete cascade
);为了作为模板示范,添加两种角色
user与admin为
user添加read权限,为admin同时添加read与write权限1
2
3
4
5
6
7
8
9insert into role(name) value('user');
insert into role(name) value('admin');
insert into permission(name) value('read');
insert into permission(name) value('write');
insert into role_permission(role_id, permission_id) value(1, 1);
insert into role_permission(role_id, permission_id) value(2, 1);
insert into role_permission(role_id, permission_id) value(2, 2);然后就要参照每一张表创建MyBatis实例和映射文件,创建方法参考在Spring Boot框架内使用Mybatis
紧接着就是配置Shiro,最重要的就是一个配置文件和一个Realm,这两个文件是shiro工作的核心
首先是配置文件,主要负责Shiro的主体设置、Realm设置,加密设置,这在之前Shiro框架中已经提到过。最重要的,Shiro与Spring Boot Web框架整合,还需要设置过滤器,即让Shiro收到网页请求后逐个检查改请求访问的页面或方法是否需要身份验证,需要什么身份或权限。
1
2
3
4
5
6
7
8
9
10
11
12
13
14
15
16
17
18
19
20
21
22
23
24
25
26
27
28
29
30
31
32
33
34
35
36
37
38
39
40
41
42
43
44
45
46
47
48
49
50
51
52
53
54
55
56
57
58
59
60
61
62
63
64
65
66
67
68
69
70
71
72
73
74
75
76
77
78
79
80
81
82
83
84
85
86
87
88
89
90
91package org.phoenix.shiro;
import org.apache.shiro.authc.credential.HashedCredentialsMatcher;
import org.apache.shiro.cache.ehcache.EhCacheManager;
import org.apache.shiro.spring.LifecycleBeanPostProcessor;
import org.apache.shiro.spring.web.ShiroFilterFactoryBean;
import org.apache.shiro.web.filter.authc.LogoutFilter;
import org.apache.shiro.web.mgt.DefaultWebSecurityManager;
import org.springframework.context.annotation.Bean;
import org.springframework.context.annotation.Configuration;
import org.springframework.context.annotation.DependsOn;
import javax.servlet.Filter;
import java.util.LinkedHashMap;
import java.util.Map;
public class ShiroConfiguration {
/**
* 负责org.apache.shiro.util.Initializable类型bean的生命周期的,初始化和销毁
* @return
*/
(name = "lifecycleBeanPostProcessor")
public LifecycleBeanPostProcessor lifecycleBeanPostProcessor(){
return new LifecycleBeanPostProcessor();
}
/**
* 密码编码
* @return
*/
(name = "hashCredentialsMatcher")
public HashedCredentialsMatcher hashedCredentialsMatcher(){
HashedCredentialsMatcher credentialsMatcher = new HashedCredentialsMatcher();
credentialsMatcher.setHashAlgorithmName("MD5");
credentialsMatcher.setHashIterations(1);
credentialsMatcher.setStoredCredentialsHexEncoded(true);
return credentialsMatcher;
}
(name = "myRealm")
("lifecycleBeanPostProcessor")
public MyRealm myRealm(){
MyRealm realm = new MyRealm();
realm.setCredentialsMatcher(hashedCredentialsMatcher());
return realm;
}
(name = "ehCacheManager")
("lifecycleBeanPostProcessor")
public EhCacheManager ehCacheManager(){
return new EhCacheManager();
}
(name = "securityManager")
public DefaultWebSecurityManager securityManager(){
DefaultWebSecurityManager securityManager = new DefaultWebSecurityManager();
securityManager.setRealm(myRealm());
// add later
// securityManager.setCacheManager(ehCacheManager());
return securityManager;
}
(name = "shiroFilter")
public ShiroFilterFactoryBean shiroFilterFactoryBean(){
ShiroFilterFactoryBean shiroFilterFactoryBean = new ShiroFilterFactoryBean();
shiroFilterFactoryBean.setSecurityManager(securityManager());
Map<String, Filter> filters = new LinkedHashMap<>();
LogoutFilter logoutFilter = new LogoutFilter();
logoutFilter.setRedirectUrl("/login");
shiroFilterFactoryBean.setFilters(filters);
Map<String, String> filterChainDefinitionManger = new LinkedHashMap<>();
//logout直接加载logout
filterChainDefinitionManger.put("/logout", "logout");
//访问index下url需要authentication
filterChainDefinitionManger.put("/index", "authc, perms[read]");
filterChainDefinitionManger.put("/admin", "authc, perms[write]");
filterChainDefinitionManger.put("/**", "anon");
shiroFilterFactoryBean.setFilterChainDefinitionMap(filterChainDefinitionManger);
shiroFilterFactoryBean.setSuccessUrl("/index");
shiroFilterFactoryBean.setLoginUrl("/login");
shiroFilterFactoryBean.setUnauthorizedUrl("/403");
return shiroFilterFactoryBean;
}
}在
shiroFilterFactoryBean()中设置了/index页面和/admin页面需要身份验证authc,也就是登录状态,否则就会跳转到。同时/index需要用户具有read权限而/admin需要有read和write权限,如不具有相应权限则会跳转到错误页面。
对于Realm设置如下:
1 | package org.phoenix.shiro; |
Realm进行身份验证的时候需要创建一个该用户的会话(这一点与单独的Shiro框架不同)
进行身份授权的时候首先要查询用户的Role,然后再根据Role查询相应的Permission加入AuthorizationInfo中返回
注册两个用户,然后分别赋予
user角色和admin角色1
2insert into user_role value(1, 1);
insert into user_role value(2, 2);系统效果
登录界面

首先以user身份进行登录进入
/index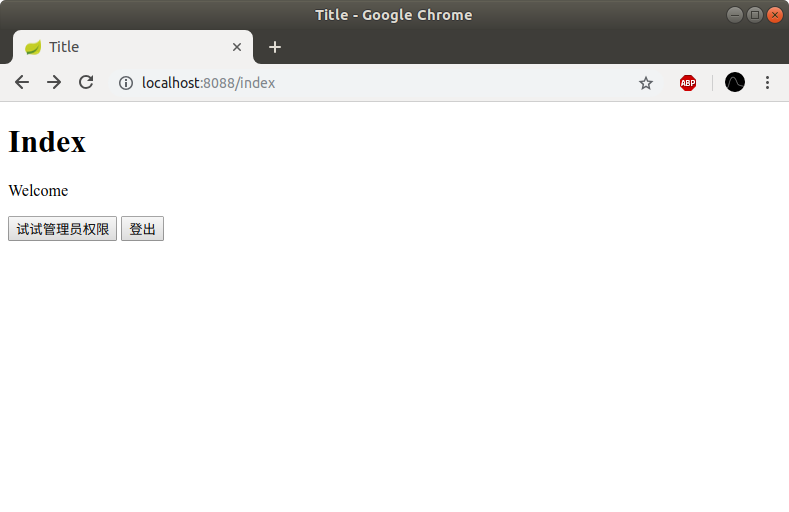
点击
试试管理员权限,发现并不能进入/admin页面,而是跳转到了/403页面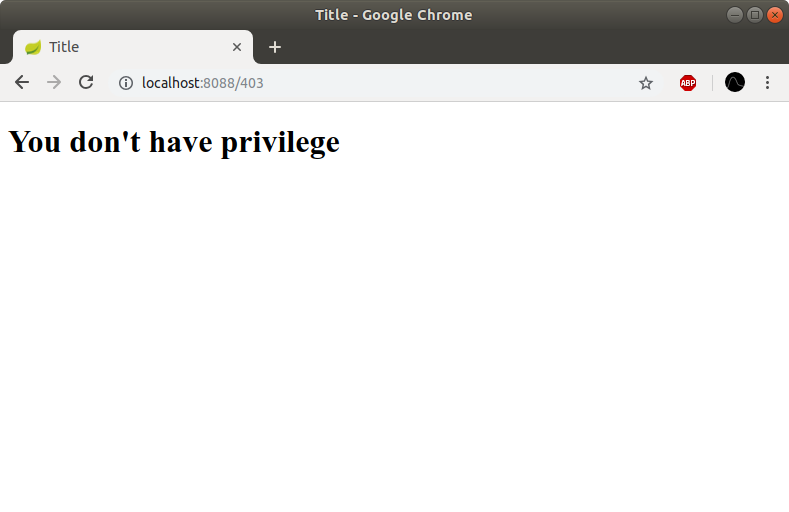
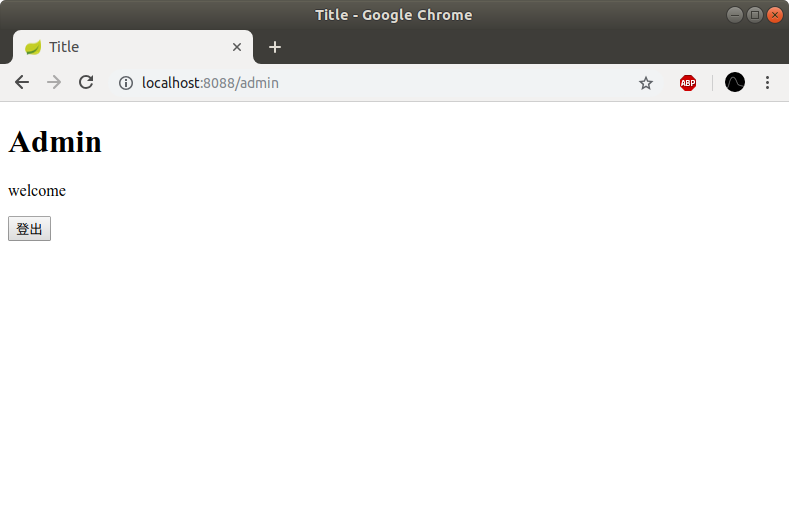
返回选择
登出重新以管理员身份登录,然后再试试管理员权限,成功进入